How are wood routers used
How are wood routers used?
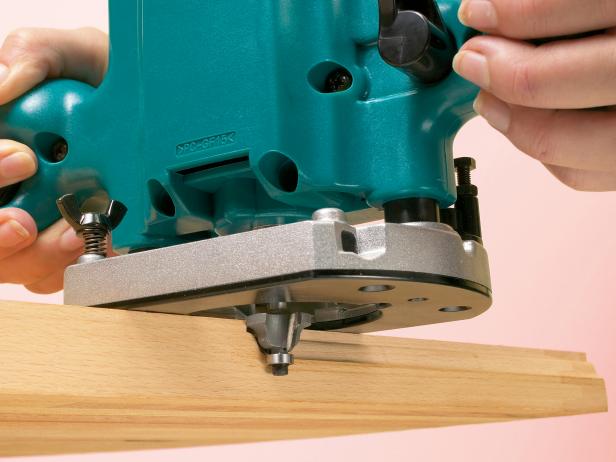
The use if the wood router is as popular as the use of the power drill or the saw in any wood work workshop. The use of the routers however is given allot of credence partly because of its power, quality and precision the amount of work which can be achieved with this single compact tool is enormous.
Routers are used for a variety of functions and can range from the following
- Making decorative edges.
- Cutting grooves.
- Making some raised panels.
- Cutting slots.
- Carving signs.
- Make moldings on diverse pieces of wood and other materials.
- Rout intricate inlays on wood.
- Trimming plastic and wood.
- Laminating veneers.
- Milling of joints like the work done in dovetails, mortises.
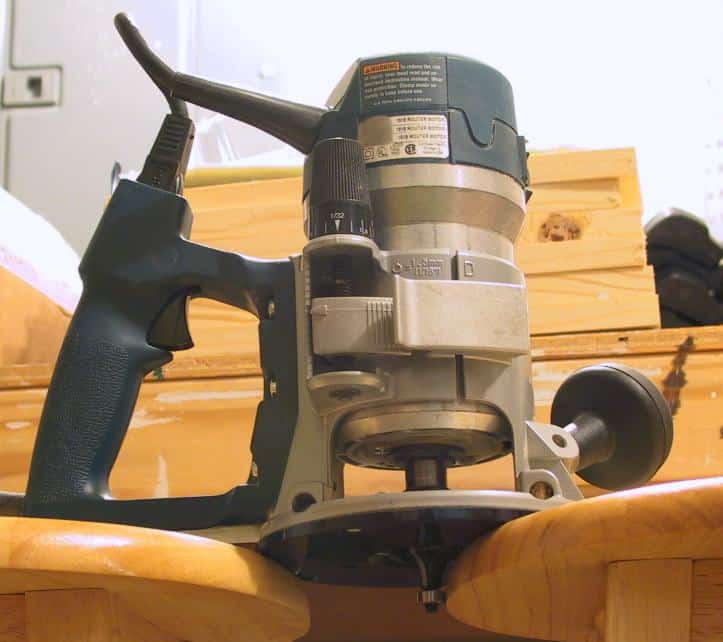
The case of the type of router can also determine how conveniently it can work. For instance, mounted routers and handheld routers work differently and the speeds at which they work differ. For starters the use of a fixed base wood router works just fine giving at least some good wood curves with minimal effort.
How to use the router?
The safety of the user while routing is of great importance. The router needs to now fit with bits with ball bearing pilots before any case of routing is handled. These bearings are meant to help keep the bit in its course while working by holding the router in position. The setting of the depth to be cut is the next step into the routing process.
The router should not be advanced in the wrong direction as is common with most of the beginners in wood work. Checking the angle at which the bit is rotating needs to be primarily the beginning point in any process of use. The router should be put against the rotation of the bit. It is not wise to run the router in an opposite direction to the bit to avoid the router running along the edge of the work piece which in most cases makes the work quite tiresome.
The rotation of the bit in the clockwise direction is caused is caused by the process of looking at the router directly at the top. The movement of the router from left to right is thus the best way. However, positioning the router in the middle just right between you and the work gives a better positioning.
The left to right movement of the router enables the user to have a better cut at the edges of any piece of board. However, it is worth noting that the creating a precise milling is the last of the steps if you are now versed with the routing process. It is advisable to place the router opposite edges of the board calls for the movement of the router from right. This puts the work at the middle of the router and the person and not vice versa.

The whole concepts still ensures that there is uninterrupted cutting yet the router is moving against the rotation of the bit. In most cases, there is a guide bushing popular as the template and a straight cutting bit which is usually important in the process of routing.
The template is usually in the form of wood which is to be sanded at the edges to give a perfectly smooth feel. This is important in the routing of some shapes which may not be regular. Guide bushings are easy to get in the market. Making them can also be possible. When your router mounting is ready, you can even put the router upside down to enhance its workability.

