
How To Use A Belt Sander
Are you wondering how a belt sander is used? Belt sanders are normally used in woodworking. If you want to build furniture, then this should be the tool to use. Of course, there are many other types of woodworking tools you will need, but a belt sander will make your work stand out.
There are many tools a DIY woodworker should have, but what does a belt sander have that other tools don’t? It is a tool that will help you do a specific job that others can’t. Basically, it helps in smoothening wood quickly by taking off the stock on it. Irrespective of the woodwork project that you have, a belt sander will help you take your projects to another level.
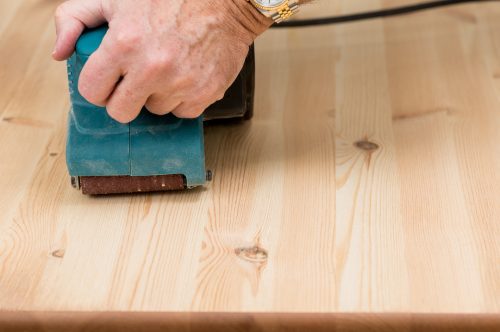
Man holding a belt sander on pine floor or table sanding surface
These convenient tools are also great when it comes to correcting problems such as misaligned joints that are glued to a table top. You can also use a belt sander when you want to form curved type shapes on small types of stock by clamping them on the sander while in an upside down manner.
Normally, belt sanders can also be used to smoothen or even out wood surfaces as they help to take off the top layer of a wooden surface quickly. This means you can use it to even out ridges on an old wooden floor as it is faster than doing the work manually.
However, you need to be careful when handling your belt sander as it can cause you problems. Once you smoothen out a surface using belt sanders, you will need a palm sander to follow up. You can also use an orbital sander for an evener surface.
Before Using Your Belt Sander
- Make sure to have hearing protection on. Knowing that you will be using a belt sander for reasonably long time, hearing protection gear will come in handy and help keep off loud noise from your ears.
- Wear a face mask to avoid breathing too much dust. For people who are not used to using this equipment, we recommend that you wear a mask to keep dust off your nose.
- Before changing the belts, ensure to empty the dust bag or unplug the tool for purposes of protecting yourself. You would not get harmed in the middle of changing the belts. It is good to take precautions when using plugged machines.
- Vacuum the dust from your sander. Before using your belt sander, make sure that any dust settled on your machine is cleaned. This is because when working for metal, a belt sander can create sparks and they can start a fire when the sparks meet the sawdust that is left in the sander or in the dust bag.
- Make sure the trigger is off before plugging in your sander. For your protection, you need to double check to ensure your machine is off.
- Secure the piece you intend to work on before using a belt sander. This machine can give out a lot of power which is why it is important that you secure it in place. You can use a stopper to secure your work from sliding away.
How To Use A Belt Sander
 Step 1: Choose the Right Belt
Before you start sanding, you will need to choose a suitable sanding belt for the task at hand. Start with a sander belt that has a rougher grit, such as 40 or 80; this will help you remove the majority of the finishes and scuffs. Then gradually work up to belts with finer grits to finish a project. To put the belt into the sander, loosen the lever and slip it onto the wheels. Close the lever to secure.
Step 2: Clamp Your Piece
Secure the material you intend to sand to your working area with clamps. This will prevent the board from slipping as you work on it.
Step 3: Start Smoothing
After turning on the sander, let it run for a few seconds to settle for the set speed. After that, moderately ease the sander belt onto the piece of wood. Make long strokes on the direction of the wood grain. Make sure you apply steady pressure but avoid applying too much of it as this could score the board. Often check out your wood as you sand.
Step 4: Finishing Up
Once done, ease the belt sander off the wood. Check its ventilation board to see if it’s full. If full, remove the bag and empty it, then reattach. After that, switch out to a finer grit, and repeat the sanding process to give your board a good finish.
Wrap Up
If you have a large surface to work on, it is important to have all the right tools with you. Belt sanders are there to help you conveniently even out rough edges and surfaces of the wood or metal, which is why it is vital to know how you can use it.
It is the best tool to use when you intend to finish your work conveniently and efficiently. Of course, for it to work efficiently, you need to handle it properly. Make sure to take all the precautions before working with this tool.